Ever stared at your Google Docs project wondering why your citations look a little off? Or perhaps you’re tired of messy paragraphs when you’re trying to format in MLA format Google Docs? You’re not alone. Knowing how to do hanging indents on Google Docs is one of those small but mighty skills that can instantly make your document look polished, professional, and publication-ready.
Whether you’re a student formatting a research paper, a content writer prepping blog drafts, or a professional curating proposals, learning how to do a hanging indent on Google Docs can set your work apart. Today, you’ll not only learn how to do hanging indent on Google Docs, but also how to master it across devices—on iPad, Mac, app, and tablets—in a way that even your professors or editors would secretly applaud.
Understanding What a Hanging Indent Really Is
Before diving into the “how,” let’s decode the “what.” A hanging indent (sometimes called a hanging indentation) is a formatting style where the first line of a paragraph aligns to the left margin, and every subsequent line is indented.
In academic writing—especially MLA format Google Docs or APA format—this is the standard for citations, bibliographies, and references. It keeps your text visually clean and easy to scan. Think of it as giving your readers’ eyes a breath between each reference.
Why Learning How to Do Hanging Indent on Google Docs Matters
Proper formatting might seem trivial, but it’s one of the fastest ways to boost credibility and readability. If you’ve ever submitted a paper and lost marks over formatting, this section is for you.
Learning how to do hanging indents on Google Docs saves time, prevents frustration, and gives your writing a professional edge. And once you know how to create a hanging indent in Word or Docs, you’ll find it’s surprisingly easy to apply anywhere—from essays to resumes to business proposals.
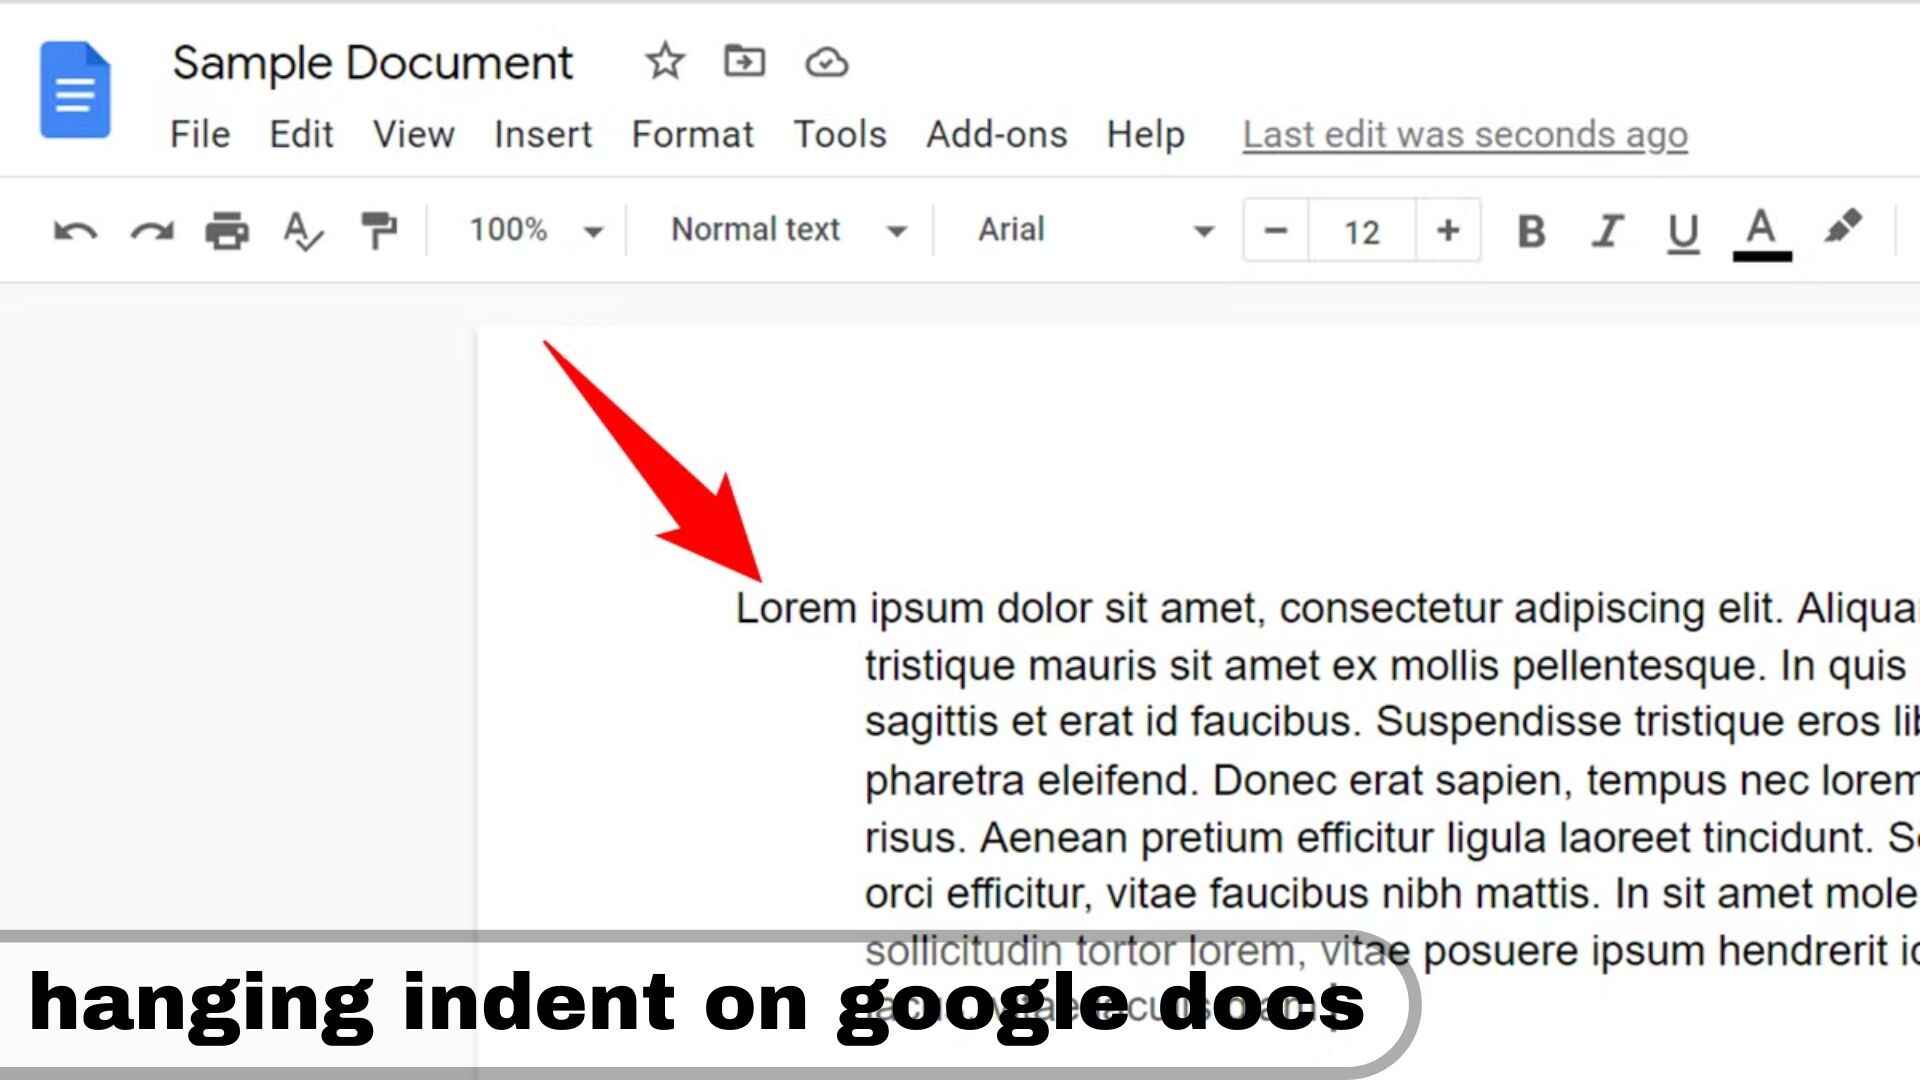
How to Do Hanging Indent on Google Docs: Step-by-Step
Here’s where the magic happens. Below, you’ll find exactly how to do a hanging indent on Google Docs—no confusion, no wasted clicks, just clean, effective formatting.
Using the Ruler Tool in Google Docs
The ruler tool is your best friend when figuring out how to do hanging indent on Google Docs. It’s simple, visual, and foolproof.
- Open your document in Google Docs 2025.
- Highlight the paragraph or citation where you want to apply the indent.
- Make sure the ruler is visible (View → Show Ruler).
- On the ruler, locate two small blue markers: the top triangle (First Line Indent) and the bottom rectangle (Left Indent).
- Drag the bottom rectangle right to 0.5 inches (or whatever indentation level you need).
- Drag the top triangle back to 0.0.
And there you have it—a perfect hanging indent Google Docs style!
Using the Format Menu for More Precision
For those who prefer an exact numeric method, here’s how to do hanging indent on Google Docs what number you need:
- Highlight the desired text.
- Go to Format → Align & Indent → Indentation Options.
- Under Special Indent, choose “Hanging.”
- Enter 0.5 inches (the standard measurement for MLA and APA styles).
- Hit Apply, and watch your text transform.
This method is ideal if you’re creating multiple indents or prefer control over precision.
How to Do Hanging Indent on Google Docs Across Devices
If you’re using a mobile device, tablet, or Mac, don’t worry. Google has made sure that formatting flexibility travels with you.
How to Do Hanging Indent on Google Docs iPad or Tablet
Working on an iPad or tablet? Here’s how to keep your references neat on the go:
- Open your document in the Google Docs app.
- Select the text you want to format.
- Tap the ‘A’ icon at the top to open text formatting options.
- Choose Paragraph → Indentation → Hanging Indent and adjust to 0.5 inches.
This is the easiest way to ensure your hanging indent Google Docs looks identical to your desktop version—even when you’re mobile.
How to Do Hanging Indent on Google Docs on Mac
Mac users can achieve the same polished look using either the ruler method or Format menu. Simply follow the steps above, and your Google Docs on Mac will display perfectly aligned citations that make even MLA formatting feel effortless.
Fun fact: some Mac users like to use the Command + Option + M shortcut to add quick comments to their indented lines—a neat productivity trick!
Comparing Hanging Indent in Google Docs vs Word
You might be wondering: “Can I also do this in Word?” Absolutely. Knowing how to do hanging indent on Word follows almost the same logic—select your paragraph, open the paragraph dialog box, and set “Special” to “Hanging” with a value of 0.5 inches.
But here’s the twist: when you master how to do hanging indent on Google Docs, you’re also mastering a cloud-based system that auto-saves, syncs, and shares across devices—something Word still can’t fully replicate in real time.
Why Hanging Indents Matter
A cheeky example? Picture this: You’re turning in your research paper at 11:57 p.m., three minutes before the deadline. You upload it to Google Classroom, but your references look like a tangled web of text.
Your friend (let’s call her Maya) simply knows how to do a hanging indentation on Google Docs. Her bibliography? Crisp. Clean. Perfectly indented. Guess who gets extra credit for neatness? Maya does.
The moral? Learning how to do hanging indents on Google Docs apps might just be the formatting superpower you didn’t know you needed.
Pro Tips for a Perfect Hanging Indent in Google Docs
Keep It Consistent
Always use 0.5 inches for your indentation—this is the universal academic standard.
Pair with Proper Spacing
Double-check your line spacing (Format → Line spacing → Double). This ensures your MLA format Google Docs layout looks publication-ready.
Use Templates
Google Docs templates with built-in hanging indent settings can save time. Just modify the text and you’re good to go!
When to Use Hanging Indents
You don’t need a hanging indent in every paragraph. They’re best used for:
- Bibliographies or works cited pages
- Reference lists in research papers
- Legal documents or citation-heavy reports
- Creative portfolios or resumes that list projects
Understanding what is a hanging indent helps you know exactly when (and when not) to apply it.
Common Mistakes When Creating a Hanging Indent
Even seasoned writers make small mistakes when learning how to hanging indent Google Docs:
- Forgetting to deselect text before adjusting indent markers
- Applying both first-line and hanging indents at once
- Not aligning text uniformly across multiple references
Avoiding these pitfalls keeps your Google Docs hanging indent looking clean and consistent.
Conclusion
So there you have it—the complete, modern, and foolproof guide on how to do hanging indent on Google Docs in 2025 and beyond. You’ve learned what a hanging indent is, why it matters, and how to apply it effortlessly across devices—whether on desktop, iPad, or the Google Docs app.
Remember: great writing deserves great formatting. When you apply what you’ve learned here, you’re not just creating documents—you’re creating professional impressions.
Now it’s your turn—try it out, share this guide, and tell us in the comments:
Did learning how to do hanging indents on Google Docs make your workflow smoother? Because once you do it right, you’ll never go back to messy margins again
FAQS
How do you do a hanging indent in Google Docs?
Go to Format → Align & Indent → Indentation Options, select Hanging, and set it to 0.5 inches, then click Apply.
How do I insert a hanging indent?
Highlight your text, open Indentation Options, choose Hanging, and set your preferred indent value (usually 0.5 inches) for perfect formatting.
How do I indent the 2nd line in Google Docs?
Use the ruler tool—drag the bottom rectangle on the ruler to 0.5 inches and keep the top triangle at 0.0 to indent only the second line onward.
What is Ctrl+K in Google Docs?
Ctrl+K is the shortcut to insert or edit a hyperlink in Google Docs—it quickly adds links to text or phrases.